
3 Easy Steps to Maximize your Photoshoot
Published on: July 1, 2021

There’s something so fun about a stylized shoot!! Like portraiture with more spice, stylized shoots have the freedom to ignore the “traditional rules of photography” and experiment with more creative ideas! Stylized shoots can be daunting due to the amount of effort to pull it off - but it’s not impossible.
In this blog, I’m going to break down my planning process & share some tips on how to prepare your own photoshoots! To liven things up, I’ll be referencing my latest sunflower photo shoot in Chico, California!
Tip #1: THE Research Phase
A successful stylized shoot begins in the research phase. At this point, you’ve probably got some kind of idea for the theme of the shoot. Maybe you want to do a sunflower shoot like I did. Whatever you decide, you’re going to need a location(s).
Location Scouting is the first part of the process. Where do you have access to take photos?
Visiting these locations in person is most ideal, but if you can’t - like I couldn’t - it helps to do online research via google maps, or other forums. In my situation, I called my friend and asked her to keep an eye out for any Sunflower fields nearby the area. Since the entire shoot depended on this location, I had a few backup locations...however they were at least a 45-minute drive away from Chico. Luckily, she was able to find a field just 10-minutes from the city.
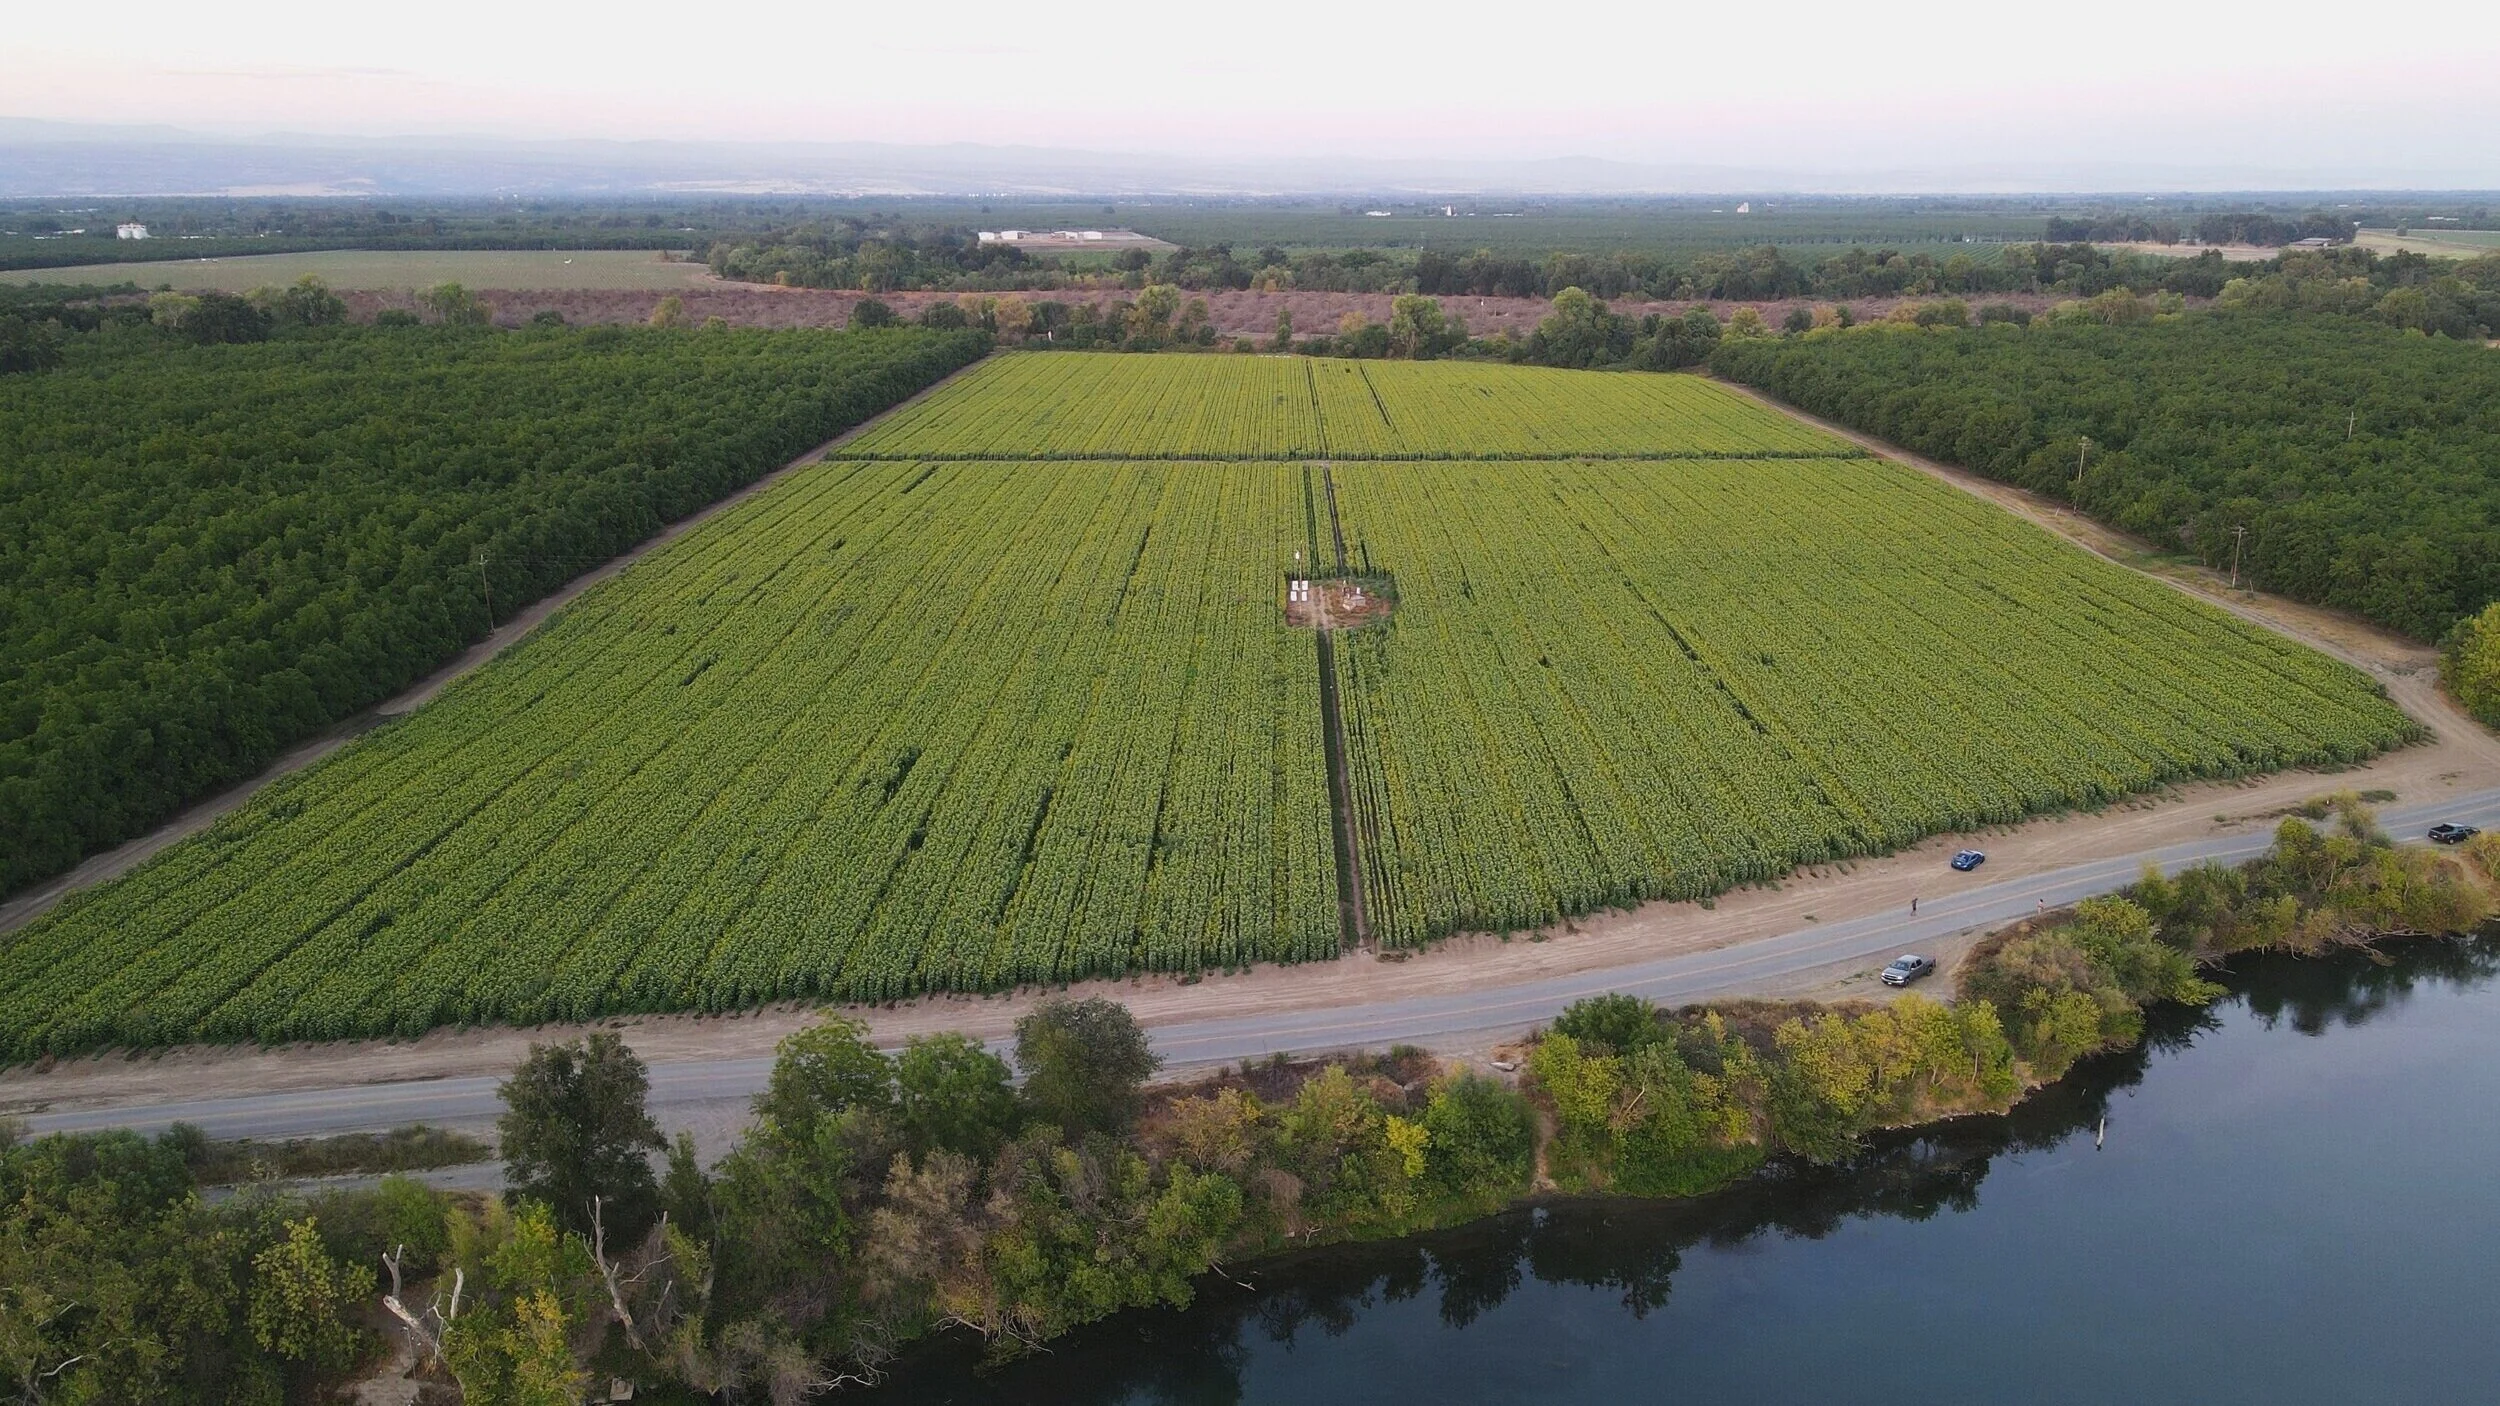
HUGE sunflower field located minutes away from Chico, California.
Timing is everything when planning out your shoot. Will your location be open when you arrive? Will there be a lot of people around during your shoot? How will the light look during the shoot?
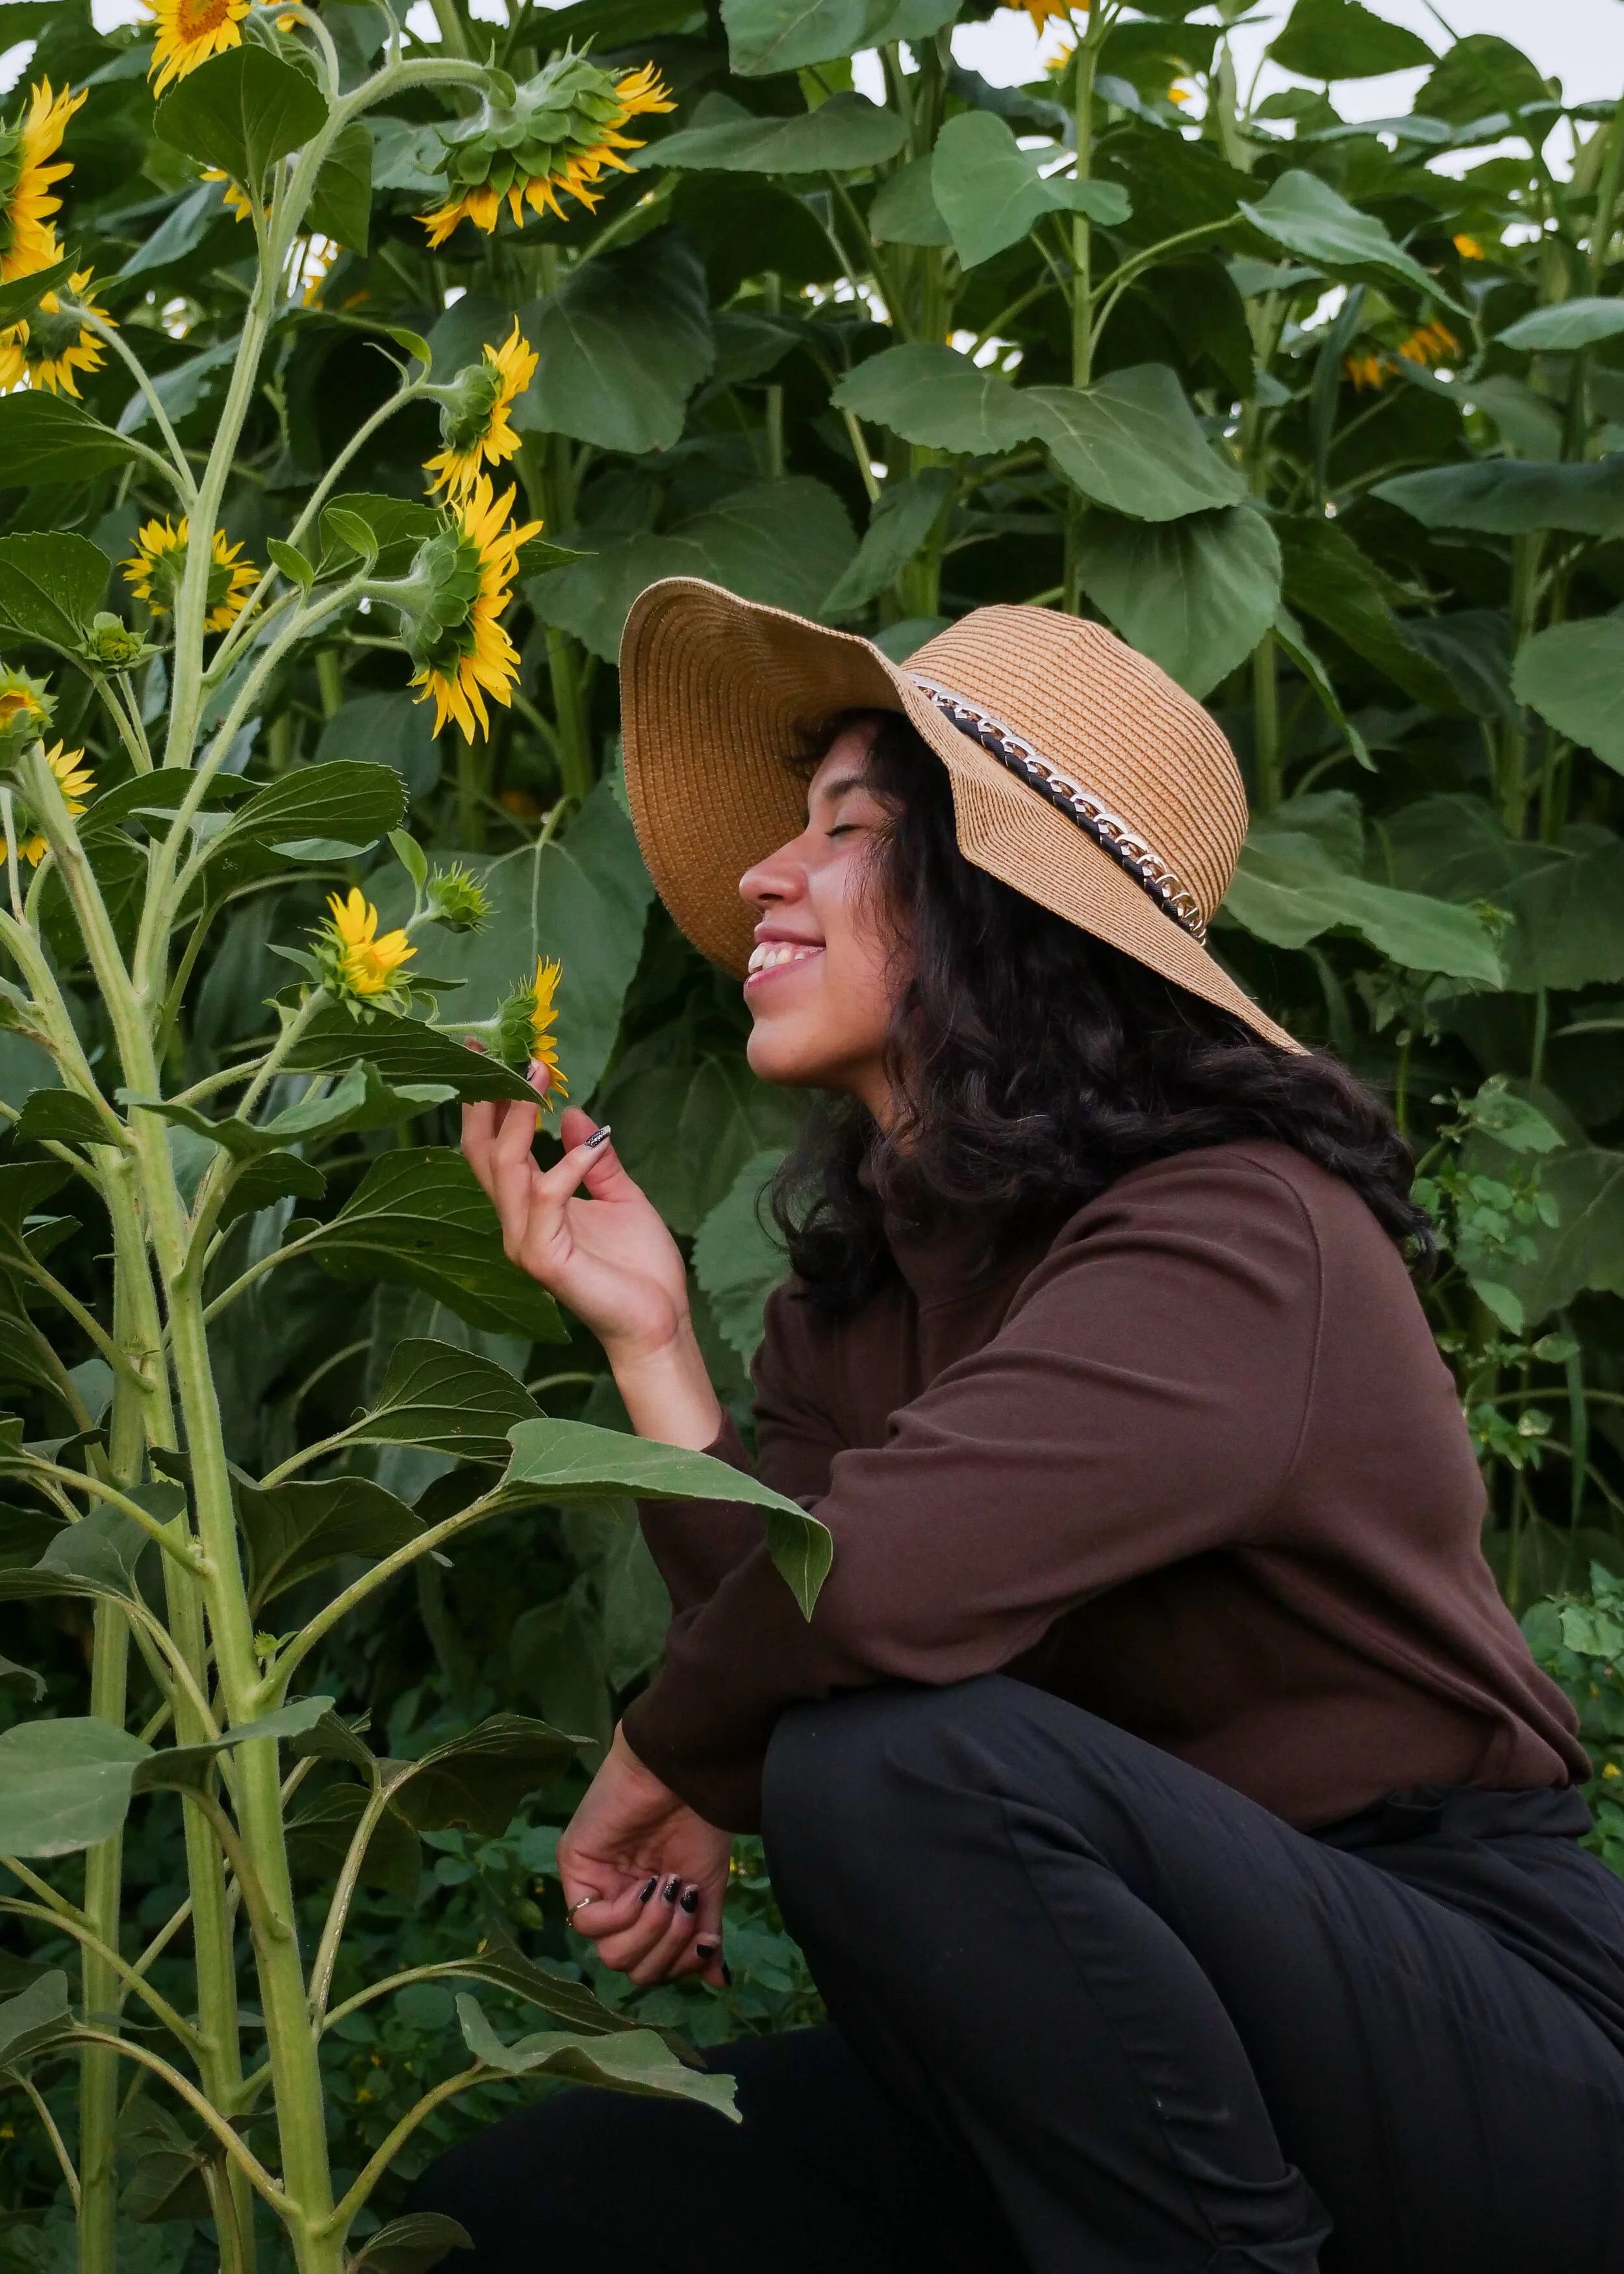
I learned quickly that sunflowers only bloom in the summer; with the peak season between June & July. This time frame helped me navigate the date of the shoot and saved me the headache of having to reschedule. Sunflowers also look best at either sunrise or sunset thanks to the golden light shining onto the field. With that in mind, I could check the local time and decide when I wanted to shoot.
Research, Research, Research! Did you know that sunflowers require A LOT of water in order to grow? Meaning there’s a high chance the fields would be slick with mud. Luckily, I did research ahead of time and was able to account for that. It was also great to learn that bees love sunflowers. Luckily my friend wasn’t afraid or allergic to bees!
Tip #2: Establish your Vision
Build a mood board via canva, Pinterest, or whatever you like! This step is kind of extra, but it helps me a lot! Saving content that inspires you/matches the aesthetic will help express your ideas visually and communicate the creative direction to your talent. Moodboards can also serve as a reference during the shoot when you are running out of ideas for poses! LOL Here’s an example of the mood board I created for the Sunflower Shoot.

Sample Mood Board that i created in Canva.
Find clothing that matches the aesthetic you’re aiming for. What are some key colors that might look good? Are the colors on-brand for the story you are trying to tell? For this shoot, I wanted complementary colors that could POP against the green & yellow.
Use what you have before buying new pieces. Half of the wardrobe was things that my friend already owned which really helped us out. If you need specific pieces/colors that your talent simply doesn’t have, consider visiting a thrift store before going to the local Forever 21!
Thrifting is a great way to repurpose used clothing for an affordable cost. During my shoot, we actually visited a Goodwill store and bought 2 tops that matched my vision for the shoot. Total cost: $10.
Use props that help tell your story. Some stylized shoots can really benefit from preparing items to include in advance! Some props could be laptops, books, workout equipment, etc. For this shoot, I really wanted to use a straw hat that would compliment the outfits and help my friend stand out in the photos. Luckily, she did have one in her closet so that saved us a few bucks! If you are thinking of using props, ask yourself, “Does this add or take away from the storytelling?”


Tip #3: Prepare the Night Before
Congrats! You’ve done all the major prep work. The only thing left now is to do the shoot. To make sure your shoot day goes smoothly, here are a few reminders to keep in mind.
Pack all your gear the night before. Rushed work isn’t great work. Mornings can be stressful and often, we forget to bring important things. If it helps, create a checklist of personal items and gear so that you don’t have that “moment of regret” on the road. Especially if you’re traveling to the shoot, make sure you pack ALL your necessities. I stayed the night in Chico and forgot some obvious personal items such as a towel.
Triple Check Your Gear. Gear malfunctions are literally the worst. Why do all of this prep work just to realize you forgot to pack enough SD cards? I would charge and check ALL the gear you’re planning on using the Night Before so you don’t have any surprises on the shoot day.
I used off-brand batteries on my Gh5 which decided to NOT WORK on the day of my shoot! I had charged them all the night before however sometimes, the off-brand stuff just doesn’t perform. Luckily, I had a spare battery on me, however, this was not how I wanted the start of the session. Thankfully, I had prepared the night before.
I hope you gained some kind of value from this article that will help you on your next photoshoot.
If you’d like to work with me on your own styled shoot, send me a message!